
Mdt 2012 Deployment Guide Step by Step 2 of 11
2.1 Creating an MDT Deployment Share
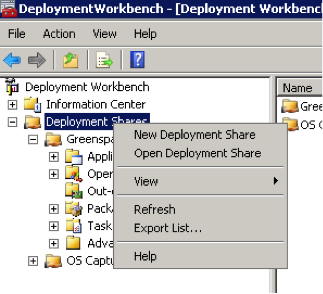
An MDT Deployment Share is the specific deployment environment which will be used for OS deployment. The share contains all elements of the deployment including drivers, applications, OS images etc.- Log on to the MDT server and open the “Deployment Workbench”
- Right-click on “Deployment Shares” in the left pane of the workbench and select New Deployment Share
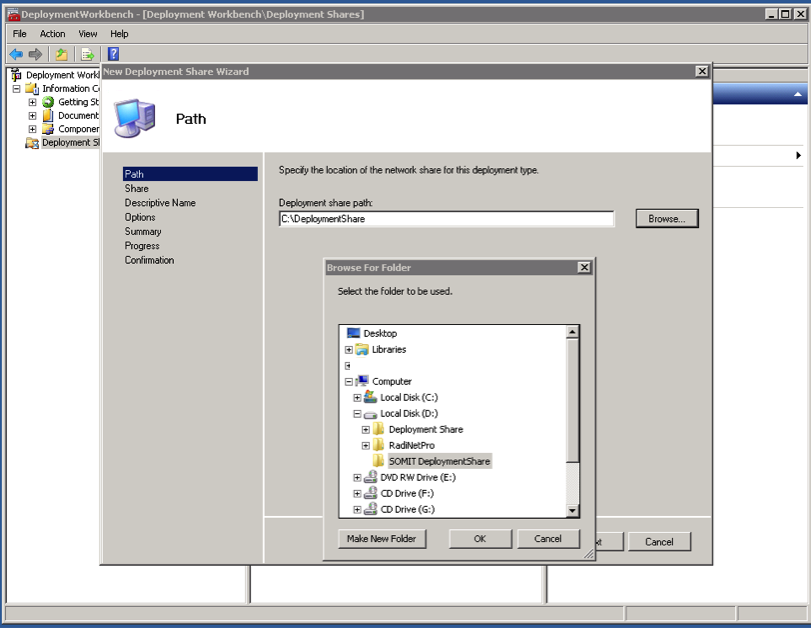
- In the New Deployment Share Wizard, choose a location for the new share. Once you’ve selected a folder, click Next
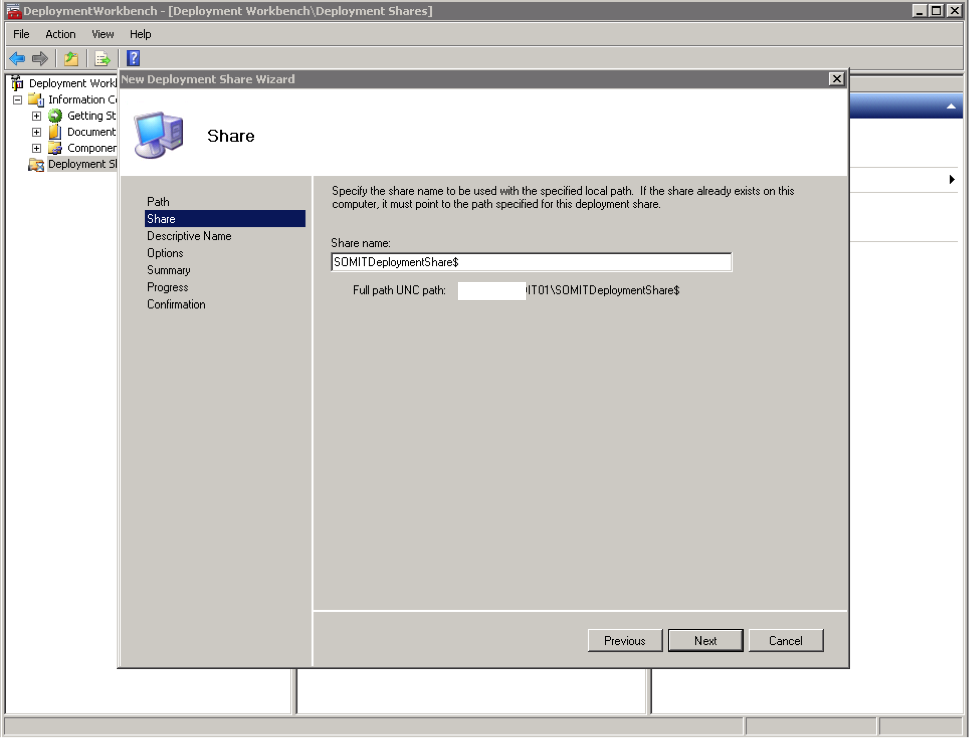
- Give the share a name – the name used previously should be fine. Click Next
- Enter a descriptive name for the share (“NewCustomer Deployment Share” for instance) and click Next
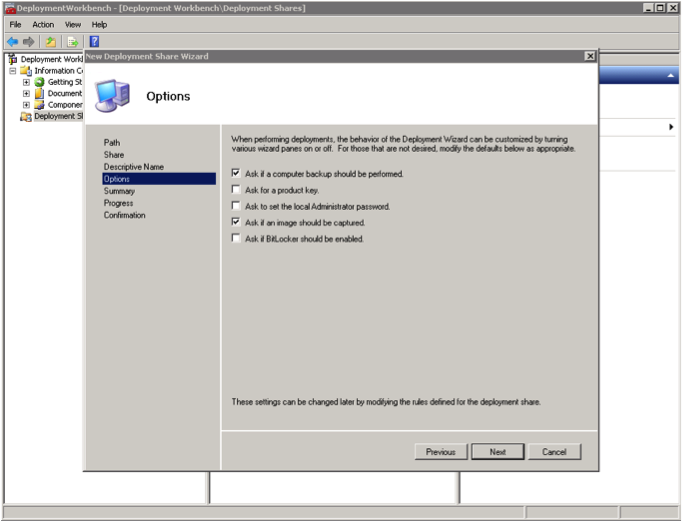
- Uncheck the next three options - Allow Image Capture, Allow Admin Password and Allow Product Key – click Next after each
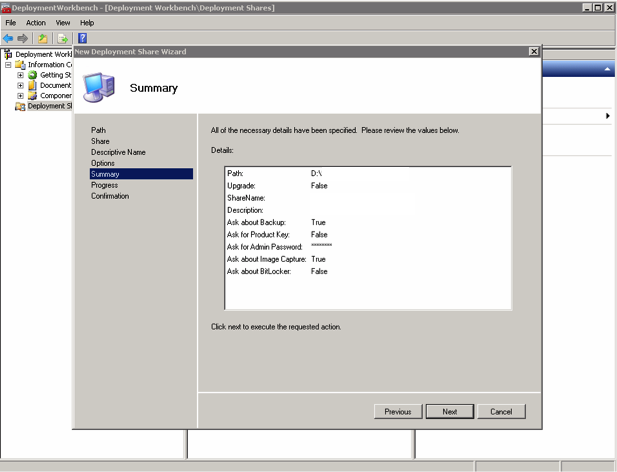
- The Summary screen should look similar to the one below. Click Next
- Wait while the deployment share is created. Once this is done, a Confirmation screen will be shown. Ensure no errors appear.
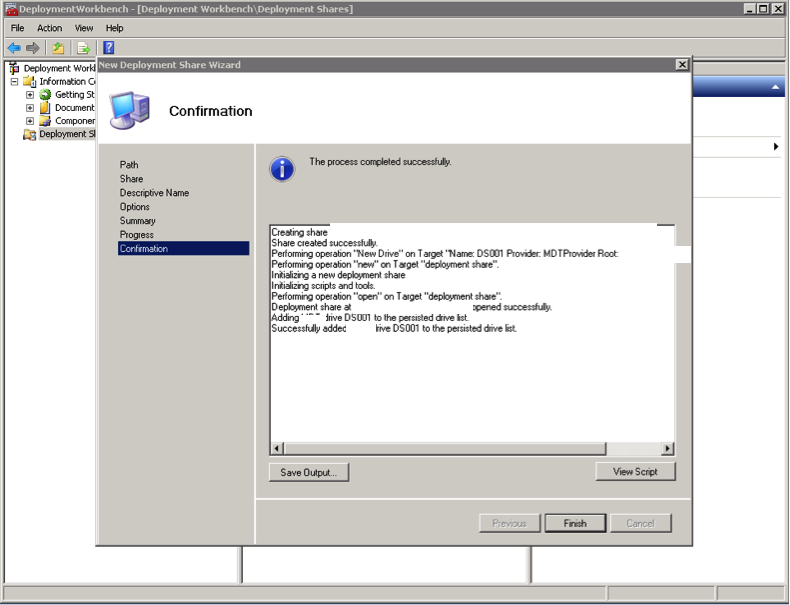
- Click Finish
2.2 Configuring the Deployment Share
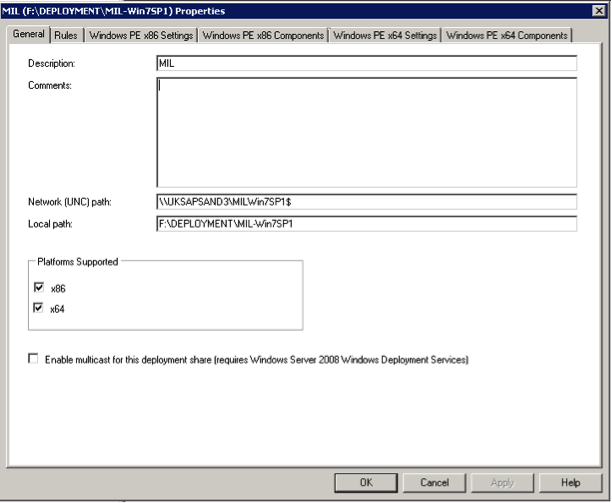
- Right-click on the new deployment share and select Properties
- Select the “Rules” tab and click the “Edit bootstrap.ini” button at the bottom
- Add the following 4 lines to the file and save it as shown below, replacing the userID and userdomain with your own settings and replacing the DeployRoot path with your own:
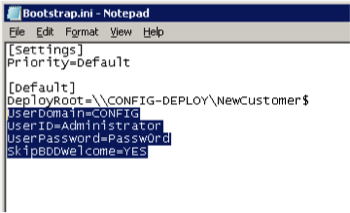
UserDomain=CONFIG
SkipBDDWelcome=YES
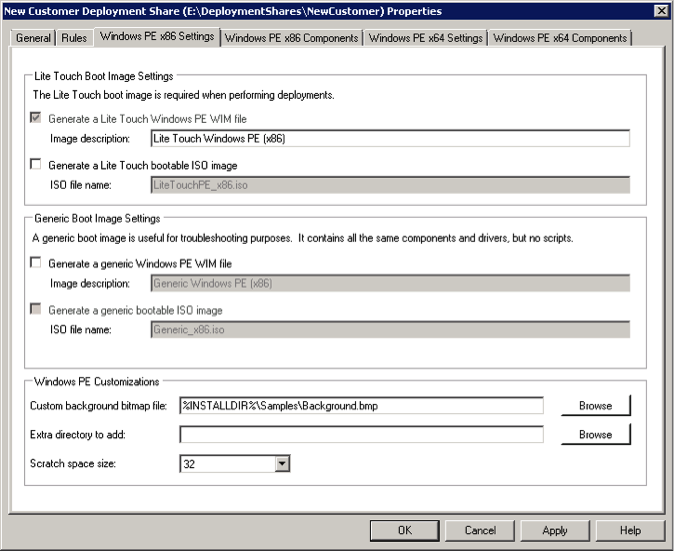
- Select the “Windows PE x86 Settings” tab and unselect the “Generate a Lite Touch bootable ISO image” option unless you want to create a network boot CD.
- Repeat step 4 on the “Windows PE x64 Settings” tab then click OK