
Mdt 2012 Deployment Guide Step by Step 3 of 11
Device Driver Management
3.1 Obtaining Device Drivers for a Deployment
In order to deploy a single image to multiple hardware types, MDT performs a “driver injection” during the OS load process. For this to work, any and all relevant drivers need to be imported into the deployment share in advance. Depending on the hardware vendor, the process for obtaining these drivers may vary but will generally involve going to the vendor website and downloading the drivers for specific hardware models. Once you have downloaded these drivers, they may require unpacking as the import process can only recognise drivers containing .INF or .CAB files.
For instance, Lenovo drivers are generally downloaded as a single .EXE file which will need to be run to unpack them.
The folder structure should be kept easy to manage so please follow the guidelines below.
E:\Source\Drivers\<VENDOR>\<MODEL>\<DRIVERTYPE>
The Vendor field should be the hardware vendor – e.g. Lenovo, HP, Dell, etc.
The Model field should be the hardware model – e.g. M58e, 6730b, etc.
The Drivertype field should be the type of device – e.g. Network, Audio, Bluetooth, RAID, etc.
Where multiple drivers of the same type are downloaded, subfolders under the drivertype folder should be created for each. For instance, under a “Video” drivertype folder, there may be separate folders for ATI, NVidia and Intel video card drivers.
NOTE: Windows 7 drivers may come as either 32 bit or 64 bit or both so you may need to download separate drivers for each if you are planning to deploy both types of OS.
I STRONGLY ADVISE DOWNLOADING THE DELL WINPE DRIVER PACK EVEN IF YOU’RE NOT DEPLOYING DELL MACHINES – THEY TEND TO COVER NIC AND MASS STORAGE DRIVERS FOR ALMOST ALL MODERN PCs
3.2 Importing Drivers into a Deployment Share
Driver injection during a Windows 7 OS deployment is a lot simpler than it was for previous operating systems such as Windows XP. The drivers just need to be imported into the relevant folder of the Out-of-Box Drivers section of MDT and they will be automatically detected and installed during the initial OS installation.
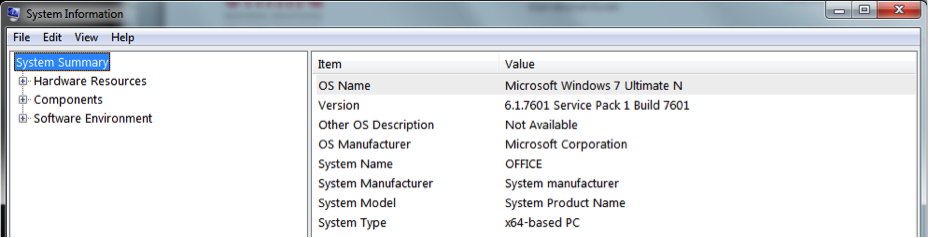
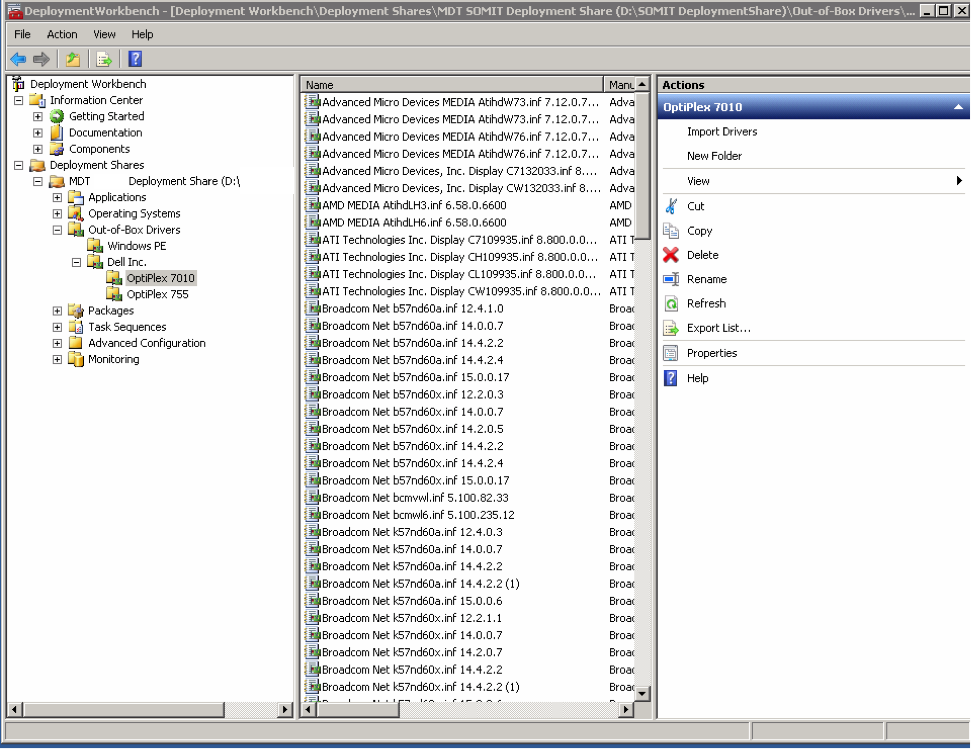
The naming of the folders is critical as the deployment process relies on correctly identifying the manufacturer and model number of the computers using a WMI query. For Dell hardware, the manufacturer is identified as “Dell Inc.” and the model is simply the model name followed by the model number (e.g. “OptiPlex 980” or “Latitude E6410”). For other hardware manufacturers, this can be somewhat more complicated and you will need to check each model. You can do this by running MSINFO32.EXE and looking for the SYSTEM MANUFACTURER and SYSTEM MODEL fields – make sure you enter them exactly as shown including any punctuation!
You will also note in the screenshot below that there is a folder “WinPE” which contains all of the drivers required by the Windows PE boot image for the network adapter and storage controllers. No other type of drivers need to be added to the WinPE drivers section. Dell provides a driver pack for Windows PE containing all of the relevant drivers for all Dell hardware (laptop, desktop and server) and we have imported this. For other vendor computers, additional drivers may be required.
Once all of the relevant drivers have been downloaded and extracted, they can be imported into the Deployment Share. If there are multiple hardware models, you may need to repeat the following steps for each model depending on the folder structure created. You will also need to import the Dell WinPE driver pack (or the relevant individual NIC and Mass Storage drivers into the WinPE folder)
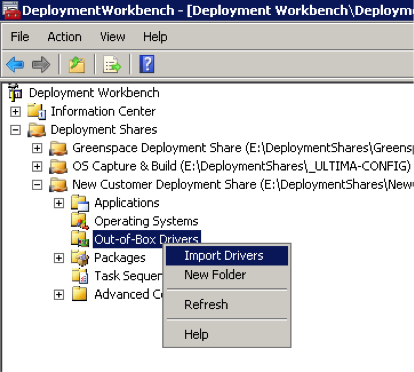
- From the Deployment Workbench, expand the customer Deployment Share and right-click on Out-of-Box Drivers and select Import Drivers
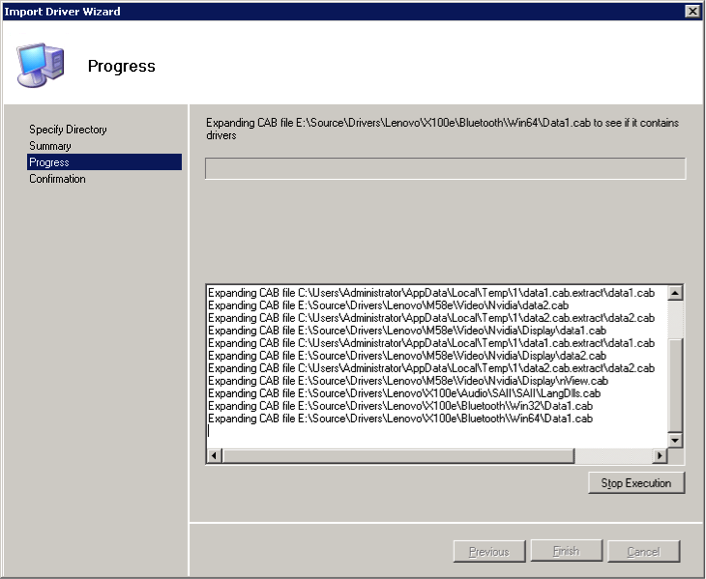
- Point the Import Driver Wizard to the folder structure containing the relevant drivers and click Next
- Review the Summary screen and click Next
- Wait while the drivers are imported into the driver repository – this may take some time!
- Complete the wizard.