Mdt 2012 Deployment Guide Step by Step 9 of 11
Creating a Deployment Task Sequence
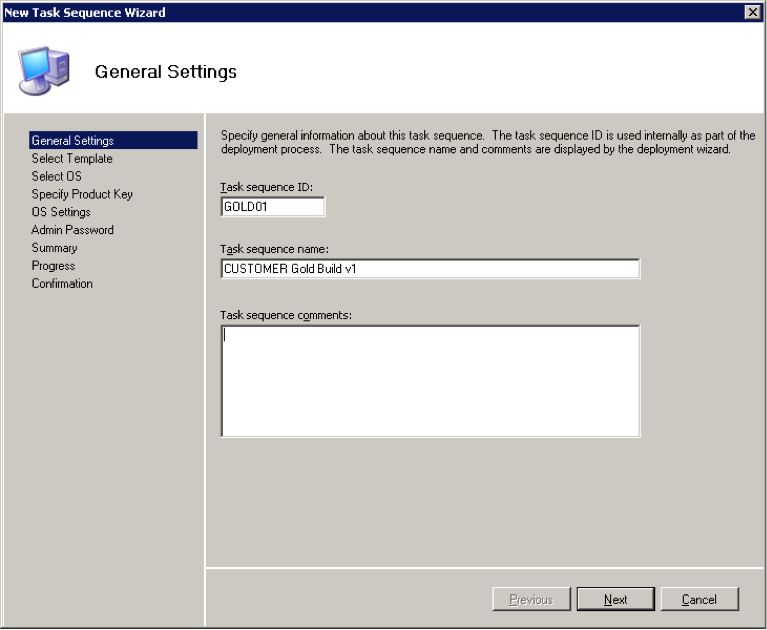
- From the Deployment Workbench, expand the customer Deployment Share and right-click on Task Sequences and select New Task Sequence
- Enter a Task Sequence ID and Name. Make a note of the ID as you may need it later!
- Accept the default “Standard Client Task Sequence” template
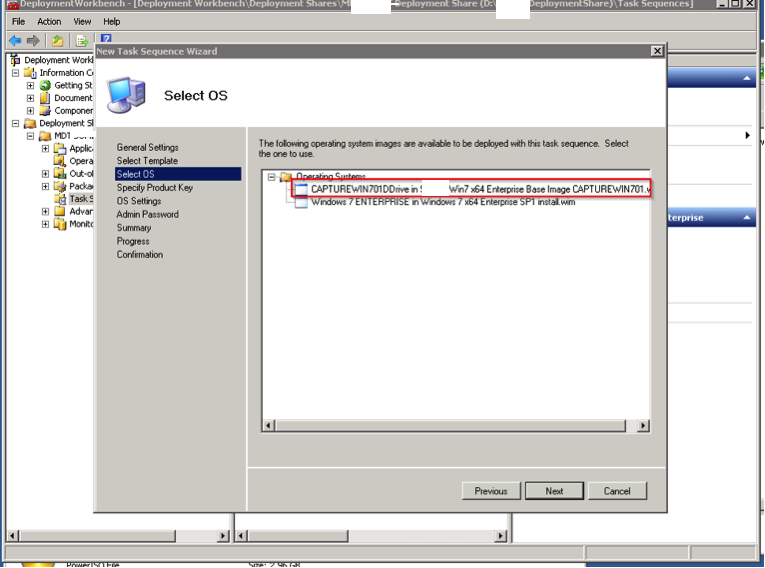
- Select the relevant OS Image to deploy
- This option will vary dependent on whether you are going to be using KMS or MAK licenses for their Windows 7 deployment.
MAK - Select Specify a multiple activation key (MAK key) for activating this operating system
and enter the relevant key
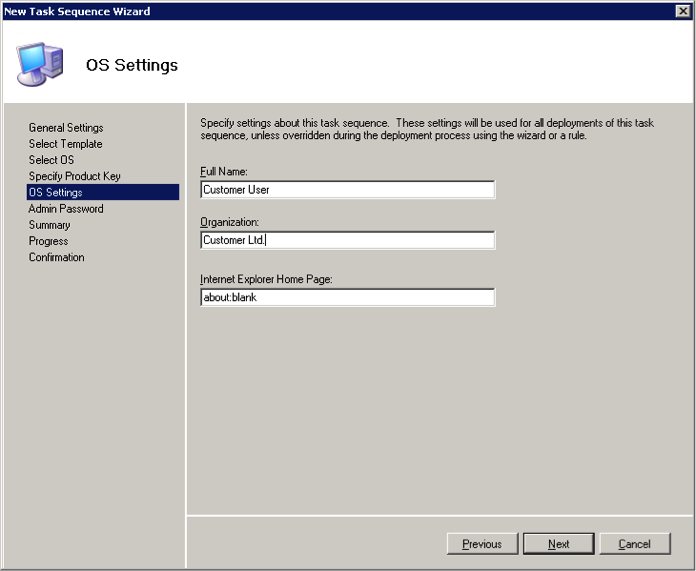
- Enter the relevant information in the OS Settings page
- Enter an Administrator password – this will be the local Admin password for the machines when built (Dilbert)
- Ensure the summary data is correct
- Accept the confirmation screen
The task sequence is now created. We can customise this to our hearts content but generally we don’t need to make too many changes.
9.1 Task Sequence Properties
When you edit a Task Sequence, there are multiple areas of configuration. The properties of a Task Sequence consists of three tabs – General, Task Sequence and OS Info.
General Tab
The General tab contains the summary information about the Task Sequence including the sequence ID, Name and any comments along with the list of client platforms which the sequence is allowed to run on.
Task Sequence Tab
The task sequence example below is based on the “Standard Client Task Sequence” template provided by MDT but the screenshot below includes quite a bit of stuff which wasn’t needed for the environment concerned (sorry). Both 32 and 64 bit sequences are identical with the exception of the “Install Operating System” step which refers to the appropriate 32 or 64 bit custom OS image.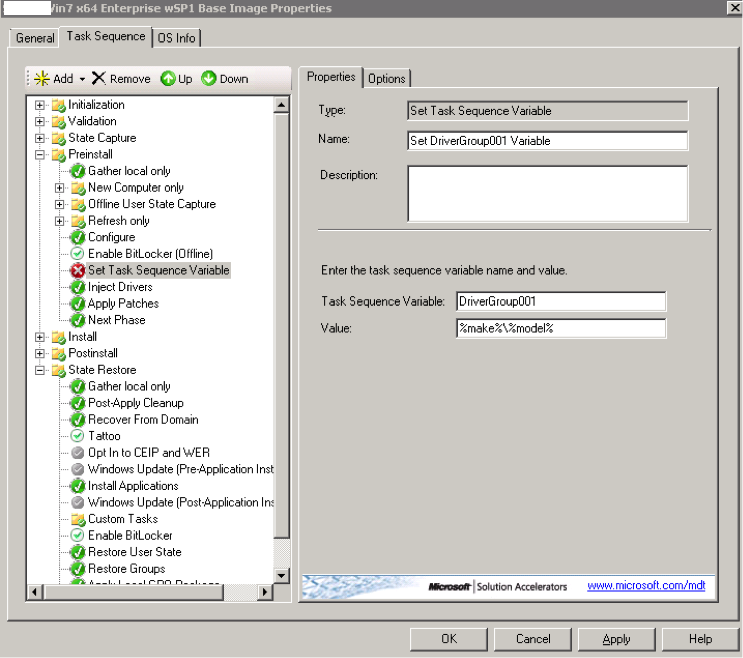
This is an additional step we’ve added which sets the “DriverGroup001” variable to “%make%%model% which will automatically pick up the correct drivers from the repository based on manufacturer and model name. If we do not do this, MDT will just trawl through the entire Out-of-Box Drivers repository and try to determine the correct drivers based on PnP ID and it sometimes gets it wrong! This gives us a little more control! NOTE: DriverGroup001 needs to go immediately before the first “Inject Drivers” step.
OS Info Tab
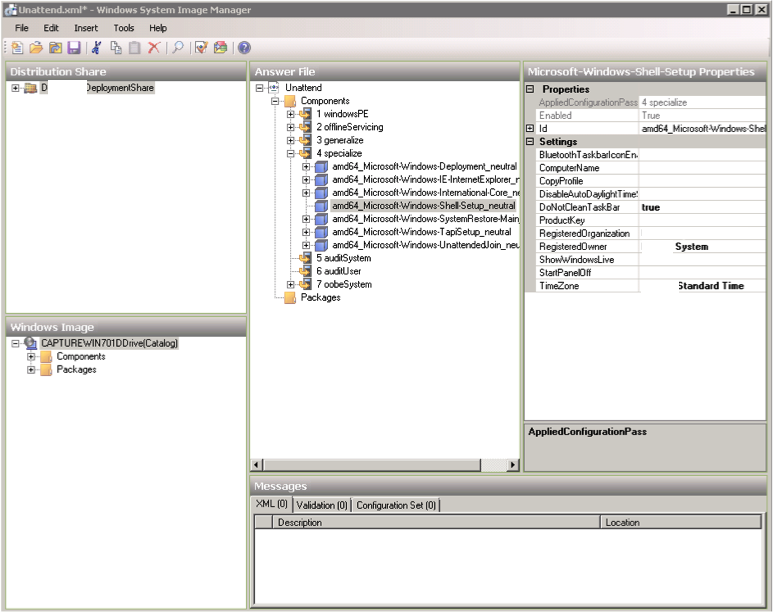
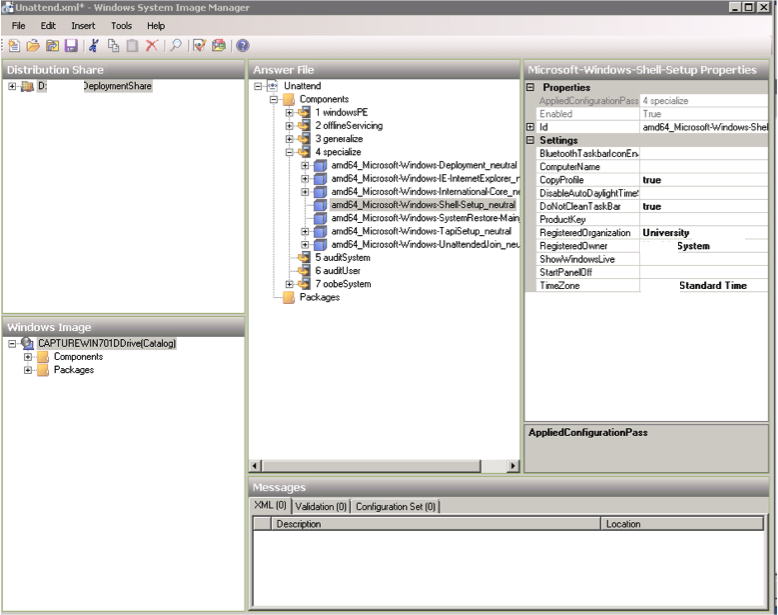
The OS Info Tab’s contents will vary depending on which OS is being installed by the Task Sequence. For Windows 7, it simply consists of a single button to edit the unattend.xml file which controls the configuration settings of Windows 7 during deployment. Most elements of unattend.xml are automatically configured on-the-fly by MDT based on information provided during the Deployment Wizard although you can add additional elements manually. For MIL, we are letting MDT perform all of the configuration of unattend.xml based on settings we have pre-configured in the CustomSettings.ini (see section 4.1)Copying the Default Profile we Created before we Captured our Image:
While within this task sequence we need to modify our Unattend.xml file so that the image will keep our Default Profile. To do this, we must enable the CopyProfile setting within the Unattend.xml file but we can only do so from the Deployment Task Sequence, and NOT FROM THE CAPTURE TASK SEQUENCE. View the Images below for more details: