
Mdt 2012 Deployment Guide Step by Step 6 of 11
Completing the Deployment Share Configuration
Now you have imported an OS (from source media) and some WinPE drivers, we can go ahead and complete the configuration of the Deployment Share.6.1 Advanced Configuration
The Advanced Configuration section of MDT consists of four separate areas although, we only use the Selection Profiles section for now. The rest are advanced topics which you can explore later!Advanced Configuration – Selection Profiles
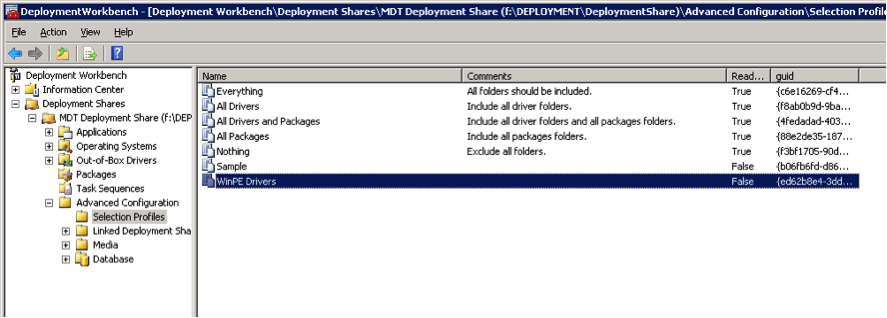
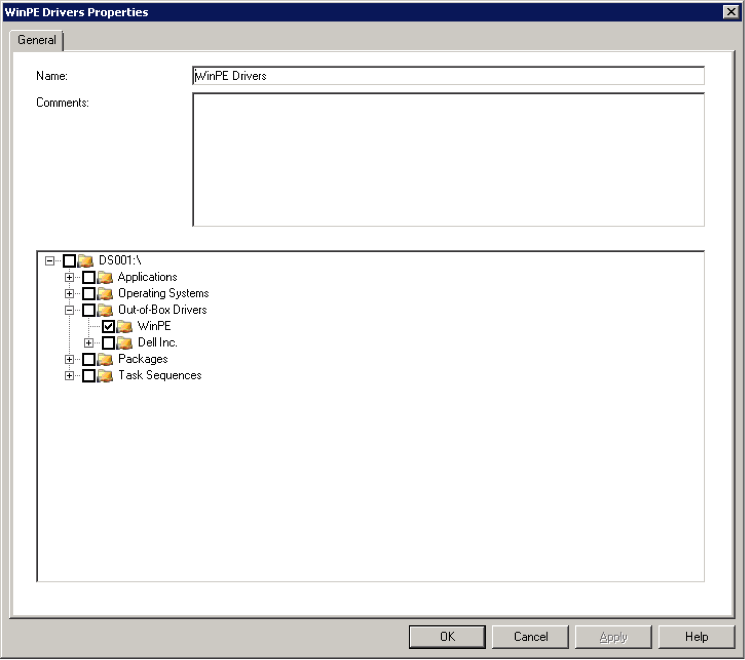
Created a single additional selection profile – “WinPE Drivers” and configured it to contain only the drivers which Windows PE will use. We’ll use this profile in a moment to configure the Windows PE environment. The next three photo's are in order by actions: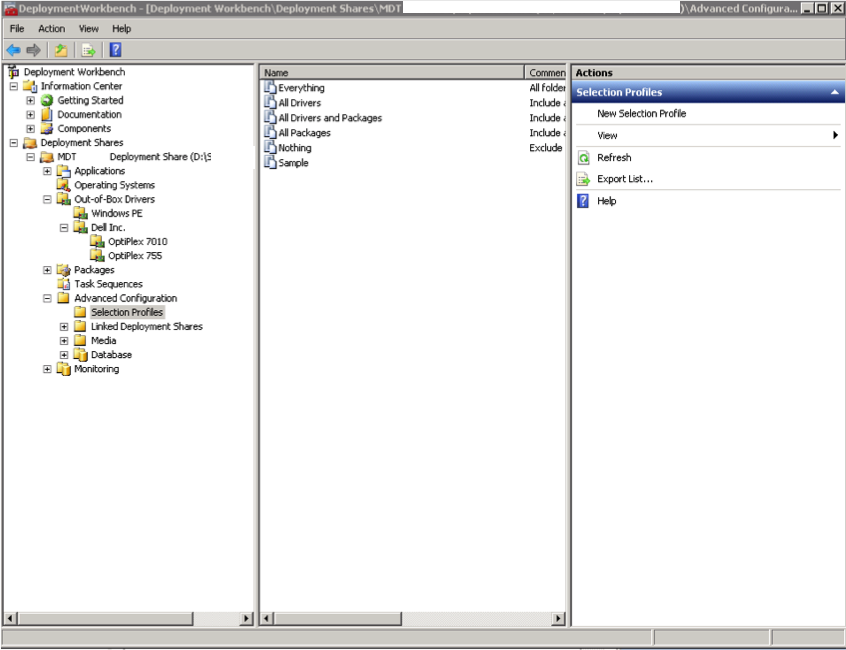
6.2 More Deployment Share Properties
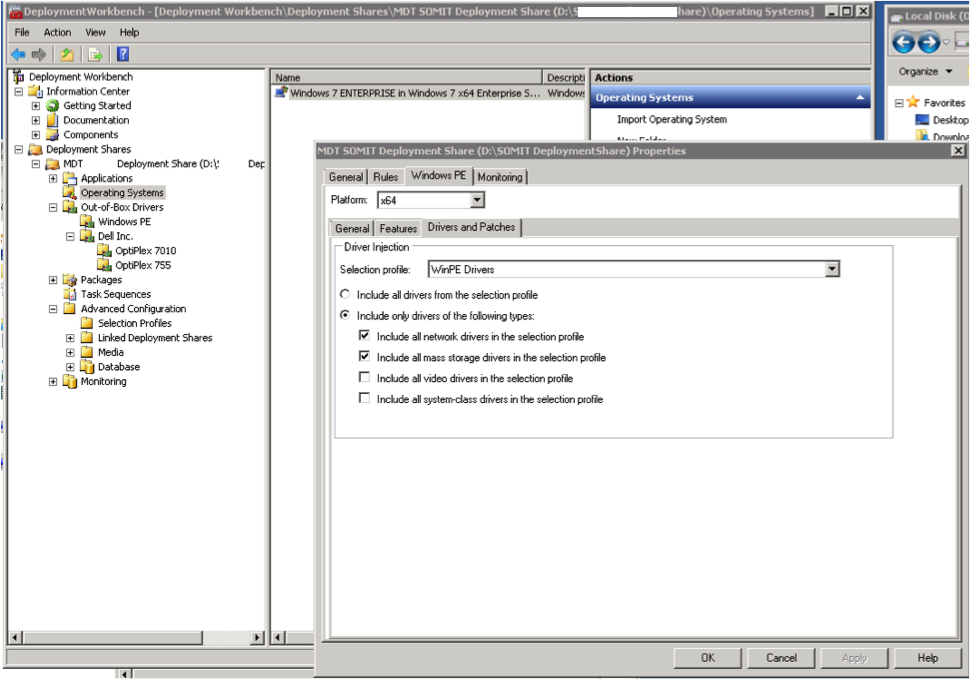
Now we return to the Properties page for the deployment share. We need to open the Windows PE x86 Components tab (and/or the Windows PE x64 Components one)
In the Selection Profile drop down, select the WinPE Drivers profile we just created and then click OK.
6.3 Build the WinPE Boot Media
Once everything is completed, you can update the deployment share. This will generate (or regenerate) the PXE boot images including loading the relevant drivers to allow the Windows PE environment to talk to the network to enable the deployment.
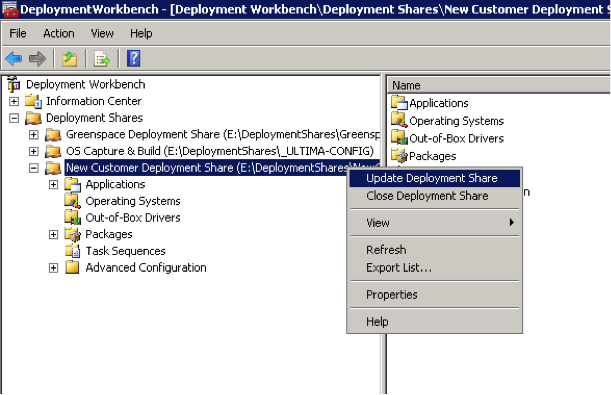
- From the Deployment Workbench, right-click the customer Deployment Share and select Update Deployment Share
- Select Optimize the boot image updating process
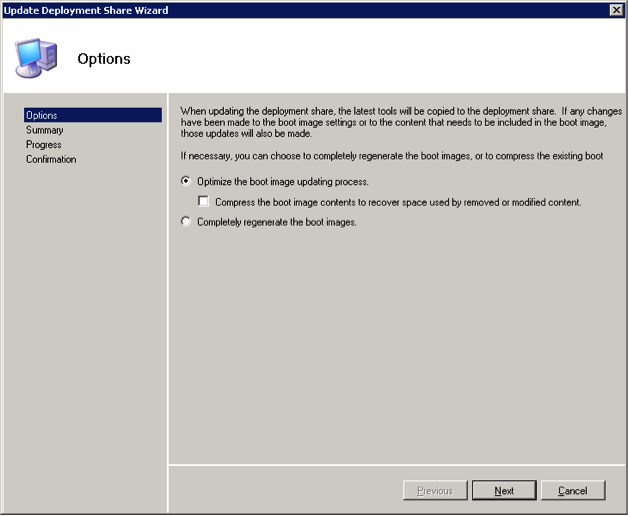
- Click Next.
NOTE: This process may take in excess of 30 minutes! Be patient!
- Click Finish