Mdt 2012 Deployment Guide Step by Step 10 of 11
Automating the Deployment Process
- Right-click on the deployment share and select Properties
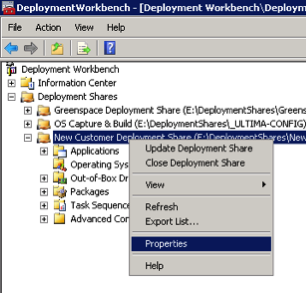
- Select the “Rules” tab
- In the main window, edit the settings as required. A sample CUSTOMSETTINGS.INI is below but feel free to change it as needed…
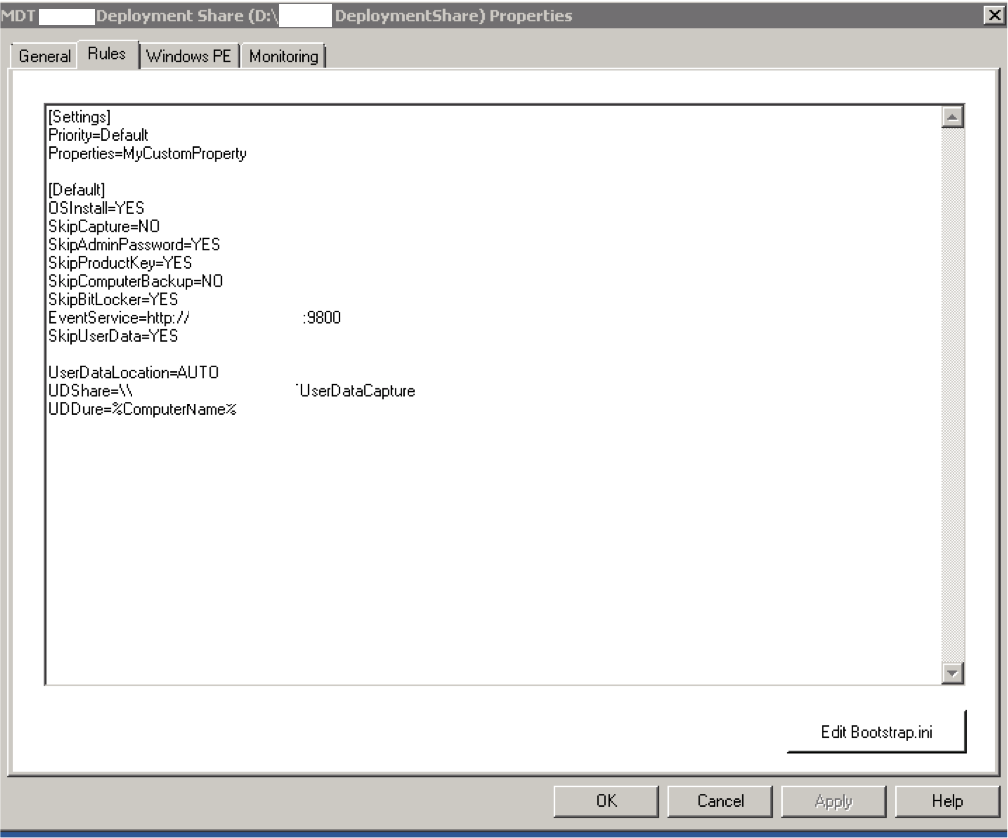
| [Settings]
Priority=Default [Default ] _SMSTSORGNAME=Customer SkipBDDWelcome=YES SkipProductKey=YES ProductKey= XXXX-XXXX-XXXXX-XXXXX OverrideProductKey=XXXX-XXXX-XXXXX-XXXXX SkipDeploymentType=YES DeploymentType=NEWCOMPUTER SkipDomainMembership=NO JoinDomain=domain.com DomainAdminDomain=domain.com DomainAdmin=MDTAddComputer DomainAdminPassword=Pa55w0rd MachineObjectOU=ou=example,dc=domain,dc=com OrgName=Customer SkipUserData=YES SkipTaskSequence=NO TaskSequenceID=TASKSEQID Continue readingMdt 2012 Deployment Guide Step by Step 9 of 11Creating a Deployment Task Sequence
MAK - Select Specify a multiple activation key (MAK key) for activating this operating system Continue readingMdt 2012 Deployment Guide Step by Step 8 of 11Importing a Customer Reference Image
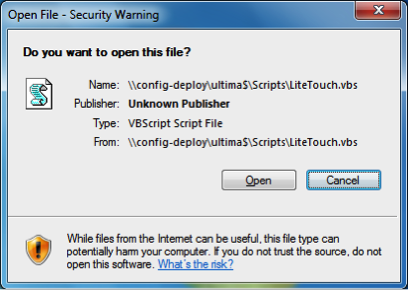
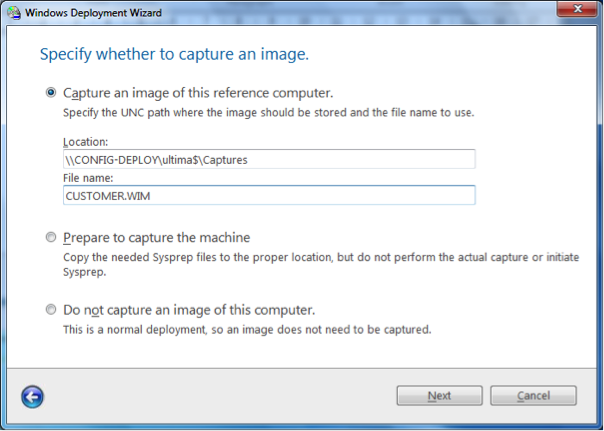
Mdt 2012 Deployment Guide Step by Step 7 of 11Capturing a Windows 7 Image from a reference PCThe reference computer should be connected to the same network as the MDT Deployment server and should be set to get an IP address via DHCP.
THE REFERENCE COMPUTER MUST NOT BE JOINED TO ANY DOMAIN!
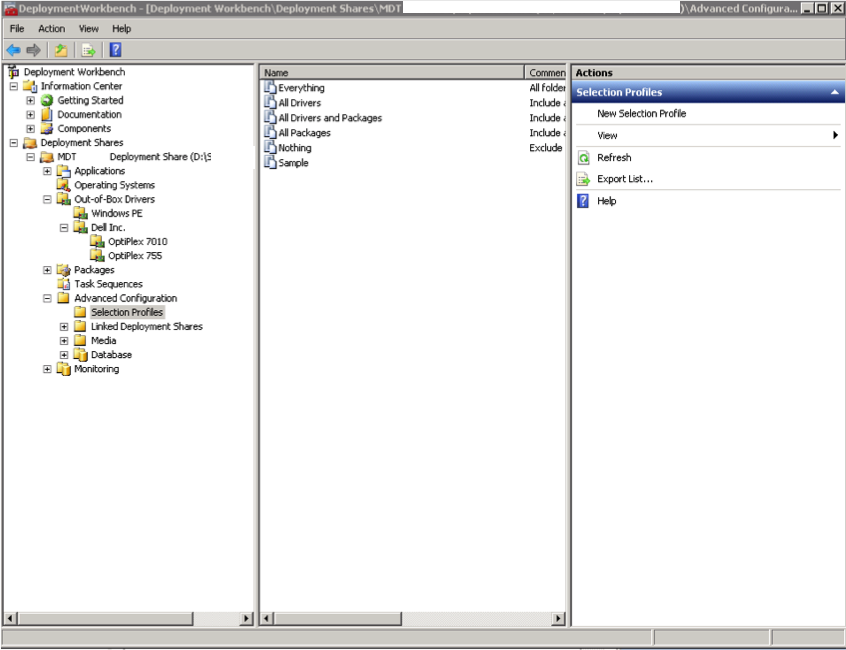
Mdt 2012 Deployment Guide Step by Step 6 of 11Completing the Deployment Share ConfigurationNow you have imported an OS (from source media) and some WinPE drivers, we can go ahead and complete the configuration of the Deployment Share.6.1 Advanced ConfigurationThe Advanced Configuration section of MDT consists of four separate areas although, we only use the Selection Profiles section for now. The rest are advanced topics which you can explore later!Advanced Configuration – Selection ProfilesCreated a single additional selection profile – “WinPE Drivers” and configured it to contain only the drivers which Windows PE will use. We’ll use this profile in a moment to configure the Windows PE environment. The next three photo's are in order by actions:
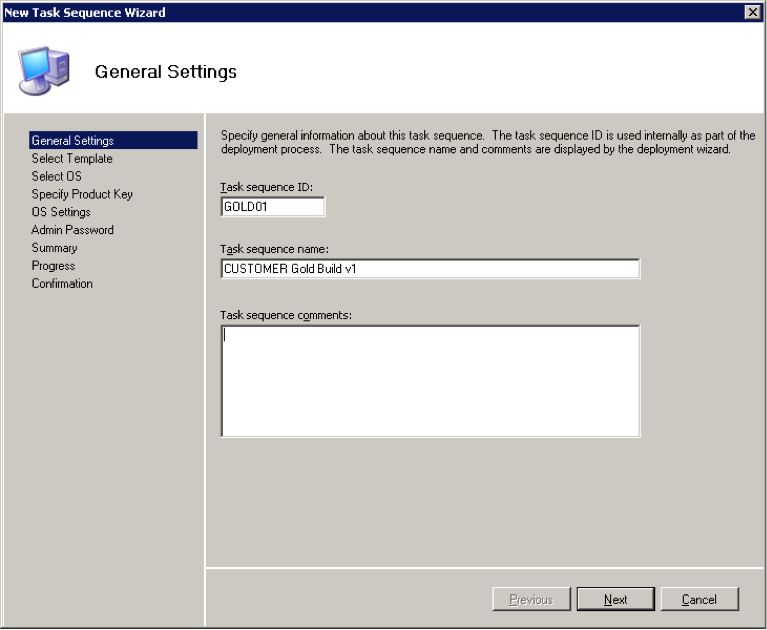
Mdt 2012 Deployment Guide Step by Step 5 of 11Creating a Sysprep & Capture Task SequenceThe “Task Sequence” is the heart of the MDT deployment solution. It is a list of steps which need to be taken to successfully deploy an Operating System.
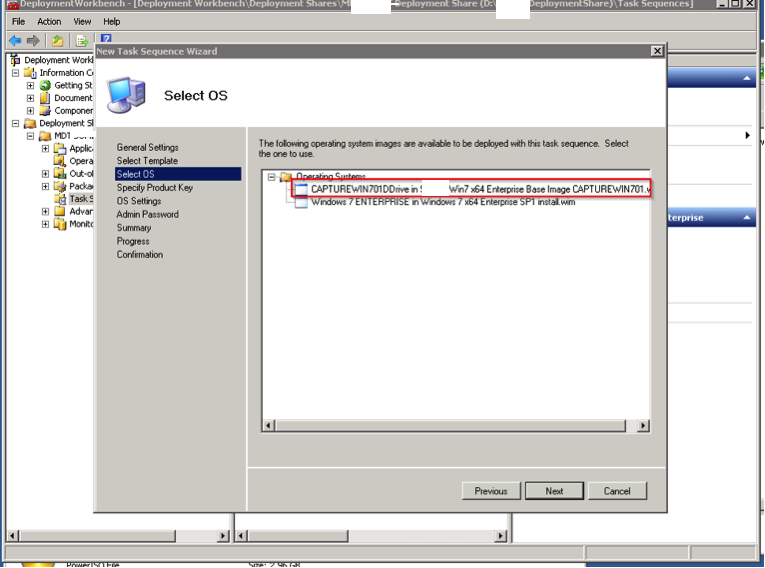
Initially you need to create a “Sysprep and Capture” task sequence. Go ahead and do this now. You don’t need to worry too much about which choice of OS you make as it doesn’t matter. Make sure you select the “Sysprep and Capture” template! Mdt 2012 Deployment Guide Step by Step 4 of 114. Importing an OS ImageThe Operating Systems section of MDT lists all of the Operating Systems which are available to deploy from a Deployment Share. The deployment itself is controlled by a Task Sequence but the operating system source files need to be available.
Simply right-click on Operating Systems on the left and Import your Windows 7 source media from either DVD or a network share. If you are planning to deploy both 32 and 64 bit versions, import both! You can also import Windows XP, Vista, Server 2003, 2003R2, 2008 and 2008R2 for deployment… Continue reading |